
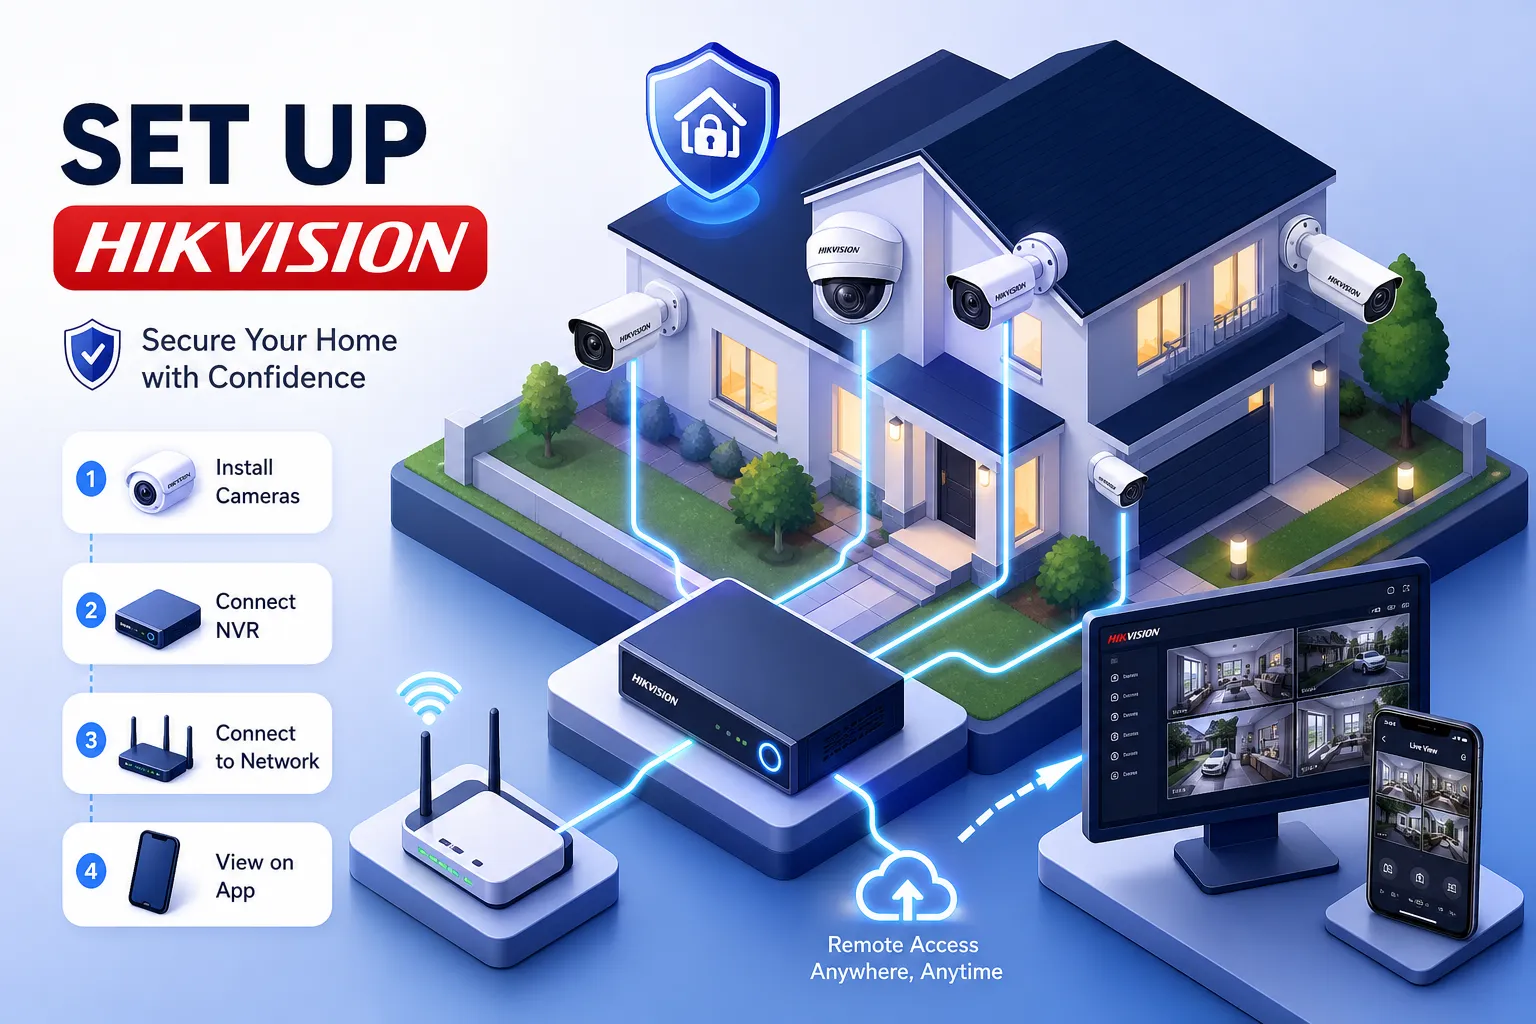
Most Nairobi homeowners think about CCTV for the first time after something goes wrong: a break-in on the next street, a car stolen from a neighbour's compound, or a gate tampered with overnight. By that point, the damage is already done. This guide explains how to set up a Hikvision CCTV system at home, from choosing cameras and running cables to initialising the NVR and enabling remote viewing on your phone, so you can act before that moment arrives.
What follows covers everything in sequence: choosing the right camera and recorder combination, running cables, initialising the NVR, and connecting to your phone for live remote viewing. No prior technical knowledge is assumed. The process is logical, and if you work through it step by step, you will have a fully operational system without needing to guess your way through menus.
The good news is that setting up a Hikvision home CCTV system is far more straightforward than most people expect. The planning stage is where most of the thinking happens. Once that is done properly, the physical installation and configuration follow a clear sequence.
Plan your camera positions before you buy anything
Identify the entry points that matter most
Walk your property and identify the points where an intruder would realistically enter: the main gate, front door, parking area, and any rear or side access points. These four zones are the non-negotiable starting coverage for a typical Kenyan home. Camera placement is driven by attacker behaviour, not by where cables are easiest to run or where brackets look neat. A camera angled directly toward an entry point deters opportunistic crime far more effectively than one covering open yard space.
For outdoor cameras, mount between 2.5 and 3.5 metres above ground with a downward tilt of roughly 15 to 30 degrees. That height keeps the camera out of easy reach while still capturing facial detail at approach distance. Mounting too high, above 3.5 metres, sacrifices the face and torso coverage you actually need to identify someone.
How many cameras does a standard home actually need?
A standalone bungalow with a single perimeter gate typically needs four cameras. A maisonette, a home with multiple entry points, or a property shared by several households generally needs six to eight. The goal is not to cover every square metre of the compound; it is to eliminate blind spots at entry and exit points. That distinction keeps your budget sensible.
The most reliable way to confirm coverage before you buy anything is a site survey. A professional visit to your property confirms the exact camera positions, cable routing distances, and channel count you need. Nashnaal Electronics (NE) offers a free site survey with selected NVR bundle purchases (confirm availability with the team), which means you can verify your layout before a single hole is drilled. Reach out via WhatsApp to arrange one.
Choosing the right Hikvision components for your home
NVR and PoE cameras vs DVR and coaxial: what suits a new installation?
For any new home installation, a Hikvision NVR paired with PoE IP cameras is the correct choice. Each camera connects via a single Ethernet cable that carries both power and video signal, so there are no separate power adapters required at each camera point. The camera handles its own image processing, which means video quality is generally higher than analogue systems at the same price point.
A Hikvision DVR setup makes sense only if your home already has coaxial cable infrastructure from a previous installation and you want to reuse it. For any new build or fresh installation, PoE architecture is the better investment. Start with a 4-channel NVR for a compact bungalow or an 8-channel unit if you plan to expand, and you will leave room to add cameras later without replacing the recorder.
Sizing the HDD and choosing a surveillance-grade drive
Four cameras recording at 1080p with H.265+ compression will fill roughly 2TB over 30 days of continuous recording. A 4TB drive gives you comfortable headroom and extends retention further, particularly if motion-only recording is enabled. Never use a standard desktop hard drive in an NVR.
Desktop drives are not built for the 24/7 write workloads that a surveillance recorder demands. They fail prematurely and without warning, often taking unrecoverable footage with them. Stick to WD Purple or Seagate SkyHawk surveillance-rated drives for reliable, long-term performance.
Where to buy your kit in Nairobi
Sourcing genuine Hikvision products from an authorised dealer is not a formality; it is the difference between a valid warranty and a grey-market unit that has no manufacturer support when something goes wrong. Nashnaal Electronics is an authorised Hikvision distributor supplying genuine cameras, NVRs, and accessories directly through official channels. A free site survey is available with selected NVR bundle purchases (confirm availability with the team), and enquiries are handled quickly over WhatsApp.
Running cables and mounting your cameras
Planning cable routes before you pick up a drill
Trace the cable path from each camera position back to where the NVR will sit before any drilling begins. The NVR belongs in a secure indoor location, a study, storeroom, or built-in TV cabinet, with access to your router and a power socket. That position is the hub everything routes back to, so choosing it carefully saves a great deal of remedial work later.
Run cables inside UV-rated conduit on exterior walls. Kenya's climate, particularly on south-facing walls with direct sun exposure, degrades unprotected cable sheathing faster than most homeowners expect. Conduit also keeps the installation looking clean and makes future cable replacement straightforward. Standard Cat6 Ethernet cable supports PoE power and data up to 100 metres per run, which is more than sufficient for most residential properties.
Connecting PoE cameras to the NVR
If your cameras are all within cabling distance of the NVR, plug each one directly into the NVR's built-in PoE ports. This is the plug-and-play method: the NVR powers the camera, detects it automatically, and assigns it to a channel. Once detected, you should see a live image appear in that channel's tile on the monitor within a few seconds, that is your confirmation the connection is good. No additional configuration is needed for basic camera discovery.
If cameras are distributed across a larger property or further than a direct run allows, use an external PoE switch connected to the NVR's network port. In that configuration, ensure every camera sits on the same IP subnet as the NVR's LAN port. The most common wiring mistake is connecting cameras to a different network segment, which prevents the NVR from discovering them. Use Hikvision's free SADP tool on a Windows laptop to check any camera's current IP address if discovery fails.
How to set up the NVR: from first boot to live recording
The startup wizard: password, time zone, and HDD formatting
Connect the monitor via HDMI, plug in the USB mouse, then power on the NVR. The startup wizard launches automatically. Work through it in order: select your language, create a strong admin password and set a recovery email, then set the correct time zone and date. Time zone and timestamp accuracy matter more than most people realise, incorrect timestamps make footage useless as evidence in practice.
The final wizard step is HDD initialisation. Select the installed drive and click Init. Wait until the status changes to Normal before closing the wizard. This is the most commonly skipped step, and it is the most common reason cameras appear to be working but no footage is recorded. The NVR will not write to an uninitialised drive under any circumstances. This single format HDD step on your Hikvision NVR is what transforms a connected camera into a recording one.
Configuring recording mode: continuous vs motion detection
For 24/7 continuous recording, enable H.265+ compression and set your cameras to 1080p. A 4TB drive in this configuration will retain roughly 30 days of footage across four cameras. For longer retention or smaller drives, switch to motion-triggered recording, which captures footage only when movement is detected in the frame.
Whichever mode you choose, enable pre-record set to 5 seconds and post-record set to 30 seconds. Pre-record captures the moment just before motion triggers the recording, which means you see what caused the event, not just the aftermath. This setting is easy to miss in the menu and makes a significant difference to the usefulness of recorded footage.
Enabling Hik-Connect for remote viewing on your phone
Activating P2P on the NVR
In the NVR's local menu, navigate to Configuration, then Network, then Platform Access. Enable Hik-Connect and set a unique verification code when prompted. Click Apply and wait for the register status to show Online. If the status remains Offline, the NVR is not reaching the internet, check that the LAN cable is connected to your router and that the NVR has received a valid IP address from DHCP.
Adding the device to Hik-Connect on Android or iPhone
Download the Hik-Connect app from the Apple App Store on iOS. For Android, download directly from Hikvision's official website rather than relying on third-party app stores. Create a free account, then tap the plus icon inside the app. Scan the QR code displayed on the NVR's Platform Access screen, enter the verification code you created, and the device will appear in your home screen with a live view thumbnail within seconds. That completes your Hik-Connect mobile setup.
For viewing on a Windows laptop, install iVMS-4200 from Hikvision's official download page. Sign in with the same Hik-Connect credentials and add the device from the device management list. The experience mirrors the mobile app, with the advantage of a larger screen for reviewing recorded footage. Both platforms support live view, playback, and basic PTZ control where cameras are equipped for it.
Solving the most common setup headaches
Camera not appearing on the NVR channel
When a camera connected to a built-in PoE port does not appear on its assigned channel, the most likely cause is an IP address conflict or subnet mismatch. Download the Hikvision SADP tool on a Windows laptop, run a network scan, and check the camera's current IP address. If it sits on a different subnet from the NVR, change it manually through SADP to match the NVR's network range. If you are using an external PoE switch, also verify that the camera is on the same LAN segment as the NVR's network port, a camera on a separate VLAN or an isolated switch port will not be discoverable regardless of how the NVR's channel management is configured.
Remote access working at home but failing outside the network
If Hik-Connect shows Online on the NVR but the app reports the device as offline when you are away from home, the issue is almost always a P2P relay session that has timed out. Sign out of the Hik-Connect app completely, sign back in, and the live view connection will re-establish in most cases.
Some homeowners prefer port forwarding over P2P for direct remote access. The three ports to open on your router are 8000 for Hikvision SDK access, 554 for RTSP video, and 80 for web access. On TP-Link routers, this is done under Advanced, then NAT Forwarding, then Virtual Servers. On Huawei ISP modems, look for Port Mapping under the advanced settings.
One important caution: many Kenyan home broadband plans use CGNAT, which means your connection shares a public IP address with other subscribers and inbound port forwarding is blocked at the ISP level. If port forwarding tests fail despite correct router configuration, your ISP plan likely uses CGNAT. In that case, Hik-Connect P2P is the practical and reliable alternative, and for most home users, it is the simpler choice from the outset.
You now have everything you need to get started
Setting up a Hikvision CCTV system at home follows a clear sequence: plan coverage zones first, choose the right NVR and PoE camera combination, run cables in conduit, initialise the NVR and format the HDD, then connect Hik-Connect for remote viewing on your phone. Each step builds on the last, and the startup wizard handles most configuration decisions through a guided interface. The process is more approachable than it looks on paper.
The physical cable run and camera mounting are the most time-consuming parts of the process. For homeowners who would rather leave those to a professional team, Nashnaal Electronics handles full installation alongside supply, with a free site survey available on selected NVR bundles (confirm availability with the team). That survey confirms your camera positions, cable routes, and channel count before any work begins, so there are no surprises on installation day.
Send a WhatsApp message to Nashnaal Electronics to confirm your coverage plan and get a genuine Hikvision NVR bundle quote. That single conversation eliminates the most common planning mistakes before you spend a shilling.
Frequently asked questions
How many cameras do I need to set up a Hikvision CCTV system at home?
Most standalone bungalows need four cameras covering the main gate, front door, parking area, and a rear access point. Homes with multiple entry points or shared compounds typically need six to eight. A site survey will give you a precise count for your specific property.
Can I set up a Hikvision home CCTV system myself without an electrician?
Yes. The NVR startup wizard and Hik-Connect mobile setup are designed for non-technical users. The main practical challenge is running cables neatly in conduit, which requires basic tools and patience rather than trade qualifications. Camera mounting, NVR configuration, and app setup are all manageable steps for a capable homeowner.
What is the difference between a Hikvision NVR and a DVR?
A Hikvision NVR works with PoE IP cameras over Ethernet cable and is the right choice for any new installation. A Hikvision DVR setup uses analogue cameras over coaxial cable and is worth considering only if you are upgrading an existing coaxial installation rather than starting from scratch.
How do I enable Hikvision remote viewing from outside my home network?
Enable Hik-Connect P2P from the NVR's Platform Access menu, then add the device to the Hik-Connect app on your phone. For most Kenyan home broadband connections, this P2P method is more reliable than port forwarding because many ISP plans use CGNAT, which blocks direct inbound connections.
Where can I buy genuine Hikvision products in Nairobi?
Nashnaal Electronics is an authorised Hikvision distributor in Nairobi, supplying genuine cameras, NVRs, and accessories with valid manufacturer warranty. A free site survey is available with selected NVR bundles — confirm availability with the team. Contact NE directly via WhatsApp for a quote.