
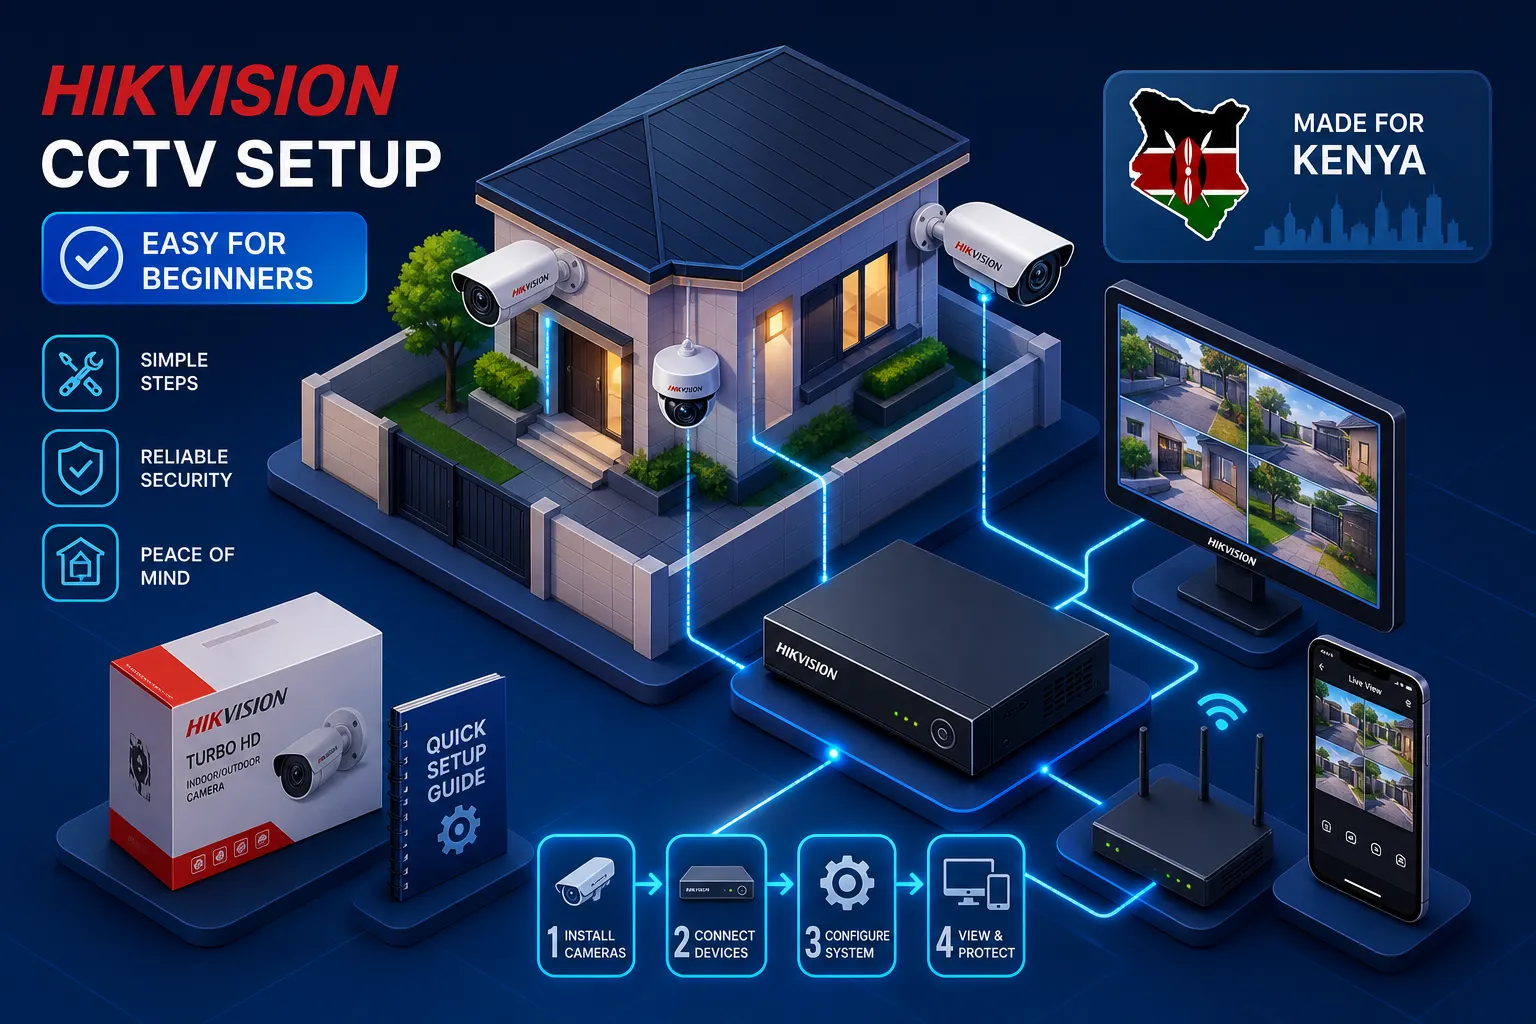
You finally bought a Hikvision camera kit. It arrives, you open the box, and you're staring at coils of Cat6 cable, a black NVR, and a bag of mounting screws with absolutely no idea what connects to what. Installers across Nairobi report this as one of the most common situations they encounter, and it's entirely avoidable. A Hikvision CCTV setup follows a logical sequence: choose the right gear, run your cabling correctly, activate the NVR, initialise storage, and switch on Hik-Connect for live viewing on your phone. Follow that order, and you'll have a working system.
Before you start, make sure you're working with genuine Hikvision products. Grey-market and counterfeit units do appear in the Kenyan electronics market, and they create setup headaches from day one: firmware that won't activate, warranty cards that lead nowhere, and app compatibility issues. Nashnaal Electronics (NE) is an authorised Hikvision distributor in Nairobi, sourcing directly through official channels, so every product comes with a valid Hikvision warranty. This guide covers everything from equipment selection to remote viewing, and if you follow the steps with basic tools to hand, you should have a fully functional system by the time you're done.
What you need before buying a single cable
Avoid buying cameras before selecting a recorder, mismatched equipment wastes money and creates systems that don't scale. Start with a complete equipment list: IP cameras, an NVR (or DVR for analogue), a compatible hard drive, Cat5e or Cat6 cabling, and either a PoE-capable NVR or a separate PoE switch.
NVR vs DVR: which recorder matches your cameras
The distinction is straightforward. An NVR (Network Video Recorder) works with IP cameras and connects via Ethernet cable. A DVR (Digital Video Recorder) works with analogue and HD-TVI cameras connected via coaxial cable. For a fresh installation starting from scratch, an NVR with built-in PoE ports is the cleanest option: one cable per camera carries both power and video, with nothing extra to wire. NVRs come in 4, 8, 16, and higher channel configurations. Match the channel count to your number of cameras and leave at least two spare channels for future expansion.
Hard drive sizing and other accessories you'll need
Using H.265+ compression at 1080p with a 2 Mbps bitrate per camera, you'll consume roughly 1.7 GB per camera per day. A 1 TB drive comfortably handles four cameras recording continuously for 30 days. For eight cameras, budget 1 to 2 TB. Always use a surveillance-grade hard drive; consumer desktop drives aren't built for continuous 24/7 writing and fail prematurely in NVR applications.
Beyond the drive, you'll need Cat5e or Cat6 cable, RJ45 connectors or pre-terminated PoE runs, and a monitor and USB mouse for the initial NVR setup. Add a UPS as well, power interruptions and surges can corrupt recordings and damage the NVR, making it a worthwhile investment for any installation. For Nairobi businesses that want to skip the sizing guesswork entirely, NE offers a free site survey with selected NVR bundle purchases (confirm availability with the team).
Choosing the right Hikvision cameras for your property
Picking the wrong camera type for a location is the most common beginner mistake, and it's more costly to fix after installation than before. Hikvision's range is broad, so understanding the core distinctions saves you money and frustration.
Bullet, dome, and turret: matching the camera to the location
Bullet cameras are long, cylindrical units built for directional, long-range coverage. They suit driveways, gates, car parks, and perimeter walls where you need to see clearly at distance. Turret and dome cameras are more compact with a wider angle of view, making them ideal for indoor spaces, shop floors, corridors, and covered verandas.
For large open compounds where a single camera needs to track movement across a wide area, a PTZ (pan-tilt-zoom) camera is the right tool. Most PTZ models require PoE+ (IEEE 802.3at), while higher-powered or feature-heavy PTZs may need Hi-PoE (IEEE 802.3bt), always check the specific model's datasheet for its power requirements. For indoor and general commercial interiors, mount cameras at 2.5 to 3 metres to capture a wide coverage angle while keeping faces clearly in frame. For perimeter walls and fencelines on commercial sites, 4 to 6 metres is the recommended range, as detailed in the mounting section below. Angle the lens slightly downward, and plan your cable route before you start drilling.
ColorVu vs standard infrared: when colour night vision matters
Standard infrared cameras produce black-and-white footage at night, which is adequate for detecting movement but poor for identifying clothing colour, vehicle colour, or facial features in low light. Hikvision's ColorVu range uses a built-in supplemental white light to capture full-colour footage even in near-darkness. For a retail shop floor, a car park, or an access gate where you need to identify people accurately after dark, ColorVu is a strong choice, compare model pricing against your identification requirements to decide whether the premium is justified for your site. NE's ColorVu range includes bullet and turret options for both commercial and residential sites, all supplied with a valid Hikvision warranty.
PoE IP cameras vs analogue: why most new installations go IP
A PoE IP camera carries both its power supply and its video signal down a single Cat5e or Cat6 Ethernet cable. Analogue cameras require a separate coaxial cable for video and an additional power run for each unit. For any new build or fresh installation, IP with PoE is simpler to install, easier to troubleshoot, and more scalable as your camera count grows. The only scenario where analogue makes sense today is when you're extending an existing coaxial infrastructure to save on re-cabling costs.
Mounting cameras and running cables correctly
Physical installation determines how reliable your system will be over the next five to ten years. Poor cable routing and rushed terminations are the root cause of most "camera keeps dropping offline" complaints, so this phase deserves as much care as the equipment selection that precedes it.
Planning camera angles and mounting height
For indoor and general commercial use, mount cameras at 2.5 to 3 metres. This height gives you a wide coverage angle while keeping faces clearly in frame. For perimeter walls on commercial sites, 4 to 6 metres is recommended to deter tampering while still capturing facial detail at distance. Tilt the lens 10 to 20 degrees downward. Never mount a camera pointing directly at a light source, as backlight will wash out the image. Identify your cable routes before drilling: plan from the camera position back to the NVR, keeping runs along wall edges and ceiling joints wherever possible.
PoE power standards and the 100-metre cable rule
Most fixed Hikvision turrets and bullets draw between 6 and 13 watts, which falls within the IEEE 802.3af standard (15.4 W per port). PTZ cameras draw more and typically require IEEE 802.3at PoE+ ports rated at 30 W; higher-spec models may need Hi-PoE, check the datasheet. The hard limit for any PoE run is 100 metres of cable. Beyond that distance, voltage drop causes the camera to reboot intermittently or refuse to power on. If you have a camera location beyond 100 metres, use a PoE extender placed at the midpoint, or run 12V DC power separately with a dedicated cable.
Routing and terminating your cables
For indoor runs, route cables along skirting boards and ceiling edges, secured with cable clips. For outdoor runs, always use conduit: UV-resistant PVC conduit protects against weather and makes tampering obvious. Terminate each cable with RJ45 connectors and test continuity with a cable tester before patching into the NVR. This five-minute step catches bad crimps and saves hours of troubleshooting after everything is mounted and sealed into the wall.
Hikvision CCTV setup: NVR first-time activation and recording schedule
Once cameras are wired and connected, the NVR needs to be activated before it will record anything. Modern Hikvision firmware ships with no default password, the device is locked until you create one during the activation wizard.
First boot and running the activation wizard
Connect an HDMI monitor and a USB mouse before powering on. The wizard launches automatically on first boot. Work through the steps in sequence: select your language, then create a strong admin password of at least 12 characters using a mix of letters, numbers, and symbols. Set a recovery email address for password reset purposes. Configure the date and time zone; Kenya operates on East Africa Time (EAT), which is UTC+3. Do not skip the time zone setting, incorrect timestamps on footage can cause serious problems if recordings are ever needed for legal or insurance purposes.
Network settings and adding cameras to the NVR
Enable DHCP for initial setup simplicity, or assign a static IP if your network uses fixed addressing. During this step, also enable Hik-Connect Service and agree to the terms. This switches on P2P cloud access for remote viewing without any port forwarding. Once network settings are saved, use the "Online Device List" to find and add your IP cameras. On a PoE NVR, cameras plugged directly into the built-in PoE ports are usually auto-detected and added with minimal input.
Initialising the hard drive and setting your recording schedule
Select the installed HDD in the wizard and click Initialise. This formats the drive and prepares it for surveillance recording, note that initialisation wipes any existing data on the drive. Wait for the status indicator to change to "Normal" before proceeding. Set your recording type: continuous 24/7 recording for comprehensive coverage, or motion-triggered event recording to reduce storage consumption. If the status shows "Abnormal" or "Uninitialized," the drive has not formatted correctly and recording will not start.
Setting up Hik-Connect for remote viewing in Kenya
Hik-Connect is the most practical remote viewing solution for Kenya, and it works around the ISP complications that make traditional port forwarding unreliable. It uses a cloud P2P relay: your phone connects to Hikvision's servers, which relay the stream from your NVR. No static IP is required, and no router ports need to be opened.
Enabling Hik-Connect on the NVR and creating a verification code
If you enabled Hik-Connect during the activation wizard, this step may already be complete. To confirm or enable it manually, navigate to Configuration, then Network, then Advanced Settings, then Platform Access. Enable Hik-Connect, create a verification code of at least six characters (avoid sequential patterns like 123456), and save. The status field should update to "Online" within a few seconds. If it remains "Offline," check that the NVR has a valid IP address, default gateway, and DNS server.
Adding your NVR to the Hik-Connect mobile app
Download the Hik-Connect app from the Google Play Store or Apple App Store. Create an account using your phone number or email address. Tap the "+" icon and scan the QR code displayed on the NVR's screen, or add the device manually using the serial number printed on the NVR's label. Enter the verification code you created on the NVR. Tap Live View to confirm remote access is working. The app functions over both Wi-Fi and mobile data, so you can check your cameras from anywhere with a data connection.
Why port forwarding fails in Kenya and how to avoid the problem
Most residential and small-business ISPs in Kenya, including Safaricom, Zuku, and Telkom, assign dynamic IP addresses and block inbound ports 80, 443, and 8000 by default. Port forwarding requires a static IP, which typically means upgrading to a business-grade connection at additional monthly cost. Hik-Connect P2P bypasses all of this by using outbound connections only, which ISPs do not block. For homes and most businesses in Kenya, Hik-Connect is strongly recommended over any port forwarding approach. If your NVR keeps showing "Offline" in the app, set the DNS manually to 8.8.8.8 (primary) and 8.8.4.4 (secondary) in the NVR's network settings and reboot the device.
Securing your system and fixing the most common setup problems
A Hikvision system that isn't hardened after setup is an unnecessary risk. The key security steps take under ten minutes, and the most common setup errors have straightforward fixes.
Three security changes to make immediately after setup
First, change the default camera IP address (192.168.1.64) to a static IP within your network range to prevent DHCP conflicts. Second, change the HTTP port from 80 to a non-standard port such as 8080; this reduces exposure to automated scanners that target default Hikvision ports. Third, keep UPnP and Telnet disabled unless you have a specific reason to enable them; both are off by default on modern firmware, and both should stay that way. Update the NVR firmware whenever a new version is available, Hikvision releases firmware updates that address known vulnerabilities, and running outdated firmware on an internet-connected recorder is a significant security gap.
Camera offline: how to diagnose and fix it
Check the PoE port indicator lights on the NVR first. A port with no light indicates no physical connection. Download the Hikvision SADP Tool on a Windows PC connected to the same network and run a scan: it identifies every Hikvision device by MAC address regardless of IP conflicts, and shows you the camera's current IP address. Ping that IP from the command prompt to confirm network reachability. If there's an IP conflict, assign the camera a static IP outside your router's DHCP range. Set the camera's DNS to 8.8.8.8 and reboot both the camera and the NVR after making changes.
No recording and NVR not detecting cameras
For a no-recording issue: check that the HDD status shows "Normal" under Storage Management, verify that the recording schedule is active for the current day and time slot, and confirm that Overwrite mode is enabled if the drive is full. An NVR with a full drive and Overwrite disabled simply stops recording without any obvious on-screen warning.
For cameras the NVR refuses to detect: go into Camera Management, select the offline camera, and verify that the IP address, username, and password entered in the NVR exactly match the camera's actual settings. A single character mismatch in the password is the most common cause. Delete the camera entry and re-add it manually if the credentials are correct but the camera remains offline.
Hikvision CCTV setup checklist: the short version
The full setup sequence comes down to five steps: select the right cameras and NVR for your property, run Cat5e or Cat6 cable within the 100-metre PoE limit, mount at the correct height and angle, activate the NVR with a strong password and initialise the hard drive, then enable Hik-Connect for mobile access.
Most issues that emerge after setting up Hikvision CCTV trace back to either a password mismatch between the NVR and the camera, or a DNS or IP conflict preventing the device from reaching the internet. Fix those two things first before exploring deeper causes.
If you are a business owner in Nairobi and would prefer a professional to handle the complete Hikvision CCTV setup, NE's team covers site survey, supply of genuine Hikvision equipment, full installation, and after-sales support. A free site survey is available with selected NVR bundle purchases (confirm availability with the team). Reach the NE team directly on WhatsApp to book yours, describe your property, and get a recommendation tailored to your specific coverage requirements.