
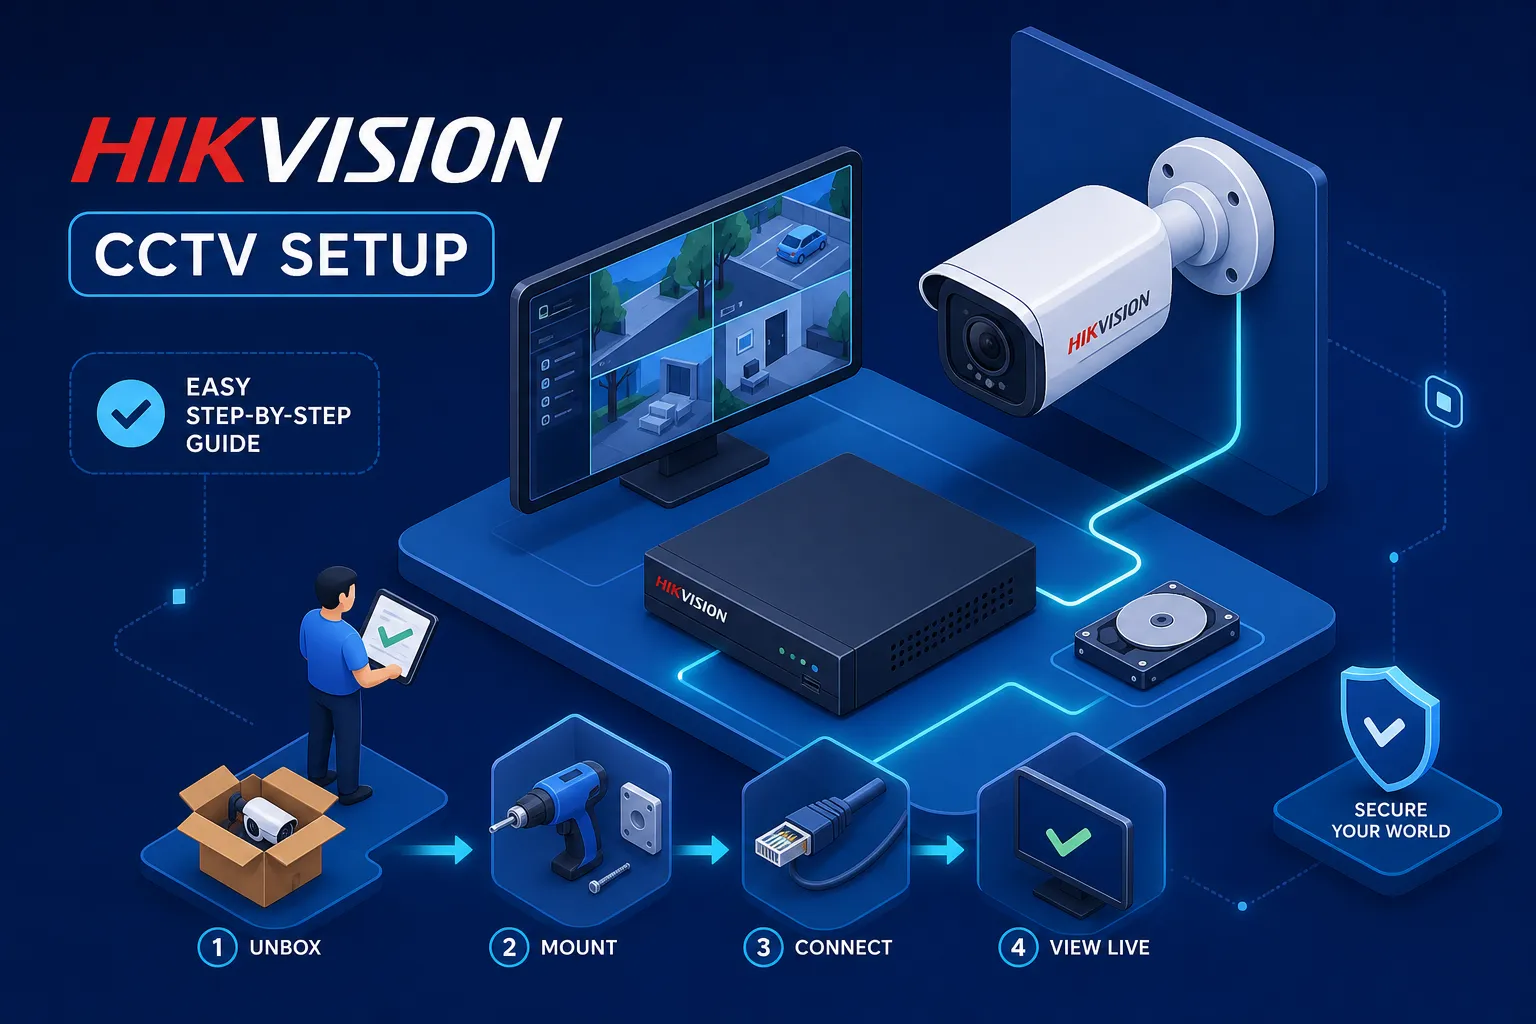
This Hikvision CCTV installation guide for beginners walks you through a basic 4-camera setup from a blank wall to live remote viewing on your phone. You've bought a Hikvision kit, or you're about to, and suddenly every product page is throwing terms at you: NVR, PoE, DS-2CD, ONVIF, H.265. Nobody told you there'd be an exam. Whether you picked up your equipment from a Nairobi supplier like Nashnaal Electronics or you're still comparing options online, the good news is this: the installation process is the same, and it's far more manageable than the jargon makes it seem.
This is a practical beginner's guide, not a technical manual. By the time you finish reading, you'll know exactly what to buy, how to plan your install, and how to get Hik-Connect working so you can check your cameras from anywhere in Kenya.
The jargon decoded: what you actually need to know before buying
Skipping this section is the fastest way to buy the wrong equipment. Spend five minutes here and you'll avoid a very expensive mistake at the hardware shop.
NVR vs DVR: picking the right recorder for your system
An NVR (Network Video Recorder) works with IP cameras connected over standard network cable (Cat5e or Cat6). A DVR (Digital Video Recorder) works with analogue cameras connected over coaxial cable. For any new installation in 2026, an NVR and IP cameras are the smarter choice: the image quality is better, the cabling is simpler, and remote access is far easier to set up.
When you're reading a spec sheet or product label, the model number tells you which system you're dealing with. DS-2CD is Hikvision's prefix for IP cameras, which pair with an NVR. DS-2CE is the prefix for analogue cameras, which pair with a DVR. If you're building from scratch, focus on DS-2CD cameras and an NVR.
What PoE means and why it simplifies your install
PoE stands for Power over Ethernet. The same Cat5e or Cat6 cable that carries the video signal from your camera also delivers power to it, so you don't need a separate power adaptor at each camera location. One cable does two jobs, which makes installations cleaner and faster.
The standard maximum cable run per PoE port is 100 metres. Beyond that, signal quality and power delivery become unreliable. A PoE NVR has the PoE ports built in; if your NVR doesn't have PoE, you'll need a separate PoE switch to power the cameras.
Resolution, channels, and storage: the three numbers that matter
Camera resolution is measured in megapixels: 2MP gives you 1080p, 4MP gives you a sharper image, and 6MP sharper still. Channel count on the NVR must match the number of cameras you're connecting, so a 4-camera setup needs at least a 4-channel NVR. HDD storage determines how many days of footage you can keep before the drive overwrites itself. Don't overthink the specs at this stage; the next section gives you a ready-made equipment list.
Hikvision CCTV installation guide for beginners: what you need for a basic 4-camera setup
This is the concrete list. Read it before you visit any supplier so you're not upsold on things you don't need or undersold on things you do.
The equipment list: cameras, NVR, HDD, and cable
Start with a 4-channel PoE NVR paired with four Hikvision IP cameras. For colour night vision, choose ColorVu models from the DS-2CD range; for a tighter budget, standard IR cameras still deliver solid 1080p performance.
For storage, use this rule of thumb: at 1080p H.265 with 24/7 recording, four cameras will need roughly a 2TB surveillance-grade HDD to store 30 days of footage. Buy a surveillance HDD specifically, not a desktop drive, as surveillance HDDs are built for the continuous read/write cycles that CCTV recording demands. Brands such as WD Purple and Seagate SkyHawk are purpose-built for this workload.
For cabling, specify solid-copper Cat5e or Cat6. Copper-clad aluminium (CCA) cable looks identical but performs poorly for PoE delivery and can cause overheating at connections. For any cable runs exposed to the elements, use UV-resistant, outdoor-rated Cat5e or Cat6. Genuine Hikvision products from an authorised supplier come with local warranty coverage, which matters if a camera develops a fault six months after installation.
Tools you will need on installation day
Gather these before you start: an electric drill with masonry bits, cable clips, an RJ45 crimping tool with connectors, a cable tester, screwdrivers, cable ties, and a ladder. A spirit level keeps your camera mounts straight, which looks professional and keeps the field of view clean. The cable tester is the most important item on this list, it saves hours of guesswork when a camera isn't showing up on the NVR after you've run 30 metres of cable through a ceiling.
Planning camera positions and cable routes before you drill
The most expensive mistake in CCTV installation is drilling first and planning second. A single incorrectly placed hole can mean re-running cable, re-patching walls, and starting over. Spend an hour planning and you'll save a full day of rework.
Choosing camera mounting points for maximum coverage
For a typical home or small shop, focus on four coverage zones: the main entrance, the back or side entrance, the car park or driveway, and either a wide-angle interior view or a perimeter shot of the most vulnerable wall. A commonly recommended starting point is mounting cameras at 2.5 to 3.5 metres height, this angle tends to capture useful facial detail while keeping the camera out of easy reach. Below 2.5 metres, cameras are easy to tamper with; above 3.5 metres, identifying people clearly becomes more difficult, though the optimal height for your site will depend on the camera's focal length and field of view.
Camera position is permanent once cable is run through walls and ceilings. Walk each location with your phone camera to get a rough sense of the angle before you commit, but bear in mind that phone lenses differ from CCTV camera lenses in field of view and distortion. Where possible, temporarily power a test camera at the proposed position for a more accurate preview.
Mapping your cable routes and respecting the 100-metre PoE limit
Sketch a rough floor plan and draw cable paths from each camera back to the NVR location. Measure each run and confirm it stays within 100 metres. If one camera is particularly far from the NVR, consider relocating either the camera or the NVR, or budget for a PoE extender.
At the camera end of any outdoor run, use a waterproof RJ45 gland or junction box rather than leaving a bare connector exposed to rain. Seal any wall penetrations with silicone to prevent moisture from tracking along the cable into the wall. Protect exposed cable runs with conduit where the cable is in direct sun or likely to be disturbed.
Wiring your cameras and completing the NVR setup
Once you have your positions confirmed and cable routed, the physical installation is straightforward. Follow these steps in order.
Activating the NVR and setting a secure password
Modern Hikvision NVRs ship inactive with no default password. Connect the NVR to a monitor via HDMI, power it on, and the startup wizard launches automatically. The first required step is creating the admin password: use a mix of uppercase letters, lowercase letters, numbers, and symbols. Write it down and store it somewhere safe. A forgotten NVR password requires a factory reset, which wipes your recording configuration.
Before you do anything else, set the correct date, time, and time zone. Timestamps on recorded footage carry real weight in insurance claims and police reports. A system with wrong timestamps is far less useful as evidence.
Hikvision CCTV installation guide for beginners, NVR and PoE camera setup
A PoE NVR auto-detects cameras plugged into its back ports. Run each camera cable to its mounting position, terminate the end at the NVR with an RJ45 connector using your crimping tool, and plug it into the NVR's PoE port. The NVR wizard will prompt you to activate each camera and assign it a channel. Confirm live view is working for all four cameras on the monitor before you mount them permanently on the wall, this is the step most beginners skip, and it causes real headaches later.
Configuring recording schedules and HDD settings
Navigate to the storage settings and confirm the HDD is recognised. If prompted to initialise it, do so from the NVR menu. Set the recording mode to 24/7 or motion-triggered depending on your preference, then enable overwrite mode so the drive loops automatically when full. Without overwrite enabled, the NVR stops recording when the HDD is full, which defeats the purpose of the system entirely.
Getting remote access working on your phone
Remote viewing tops the list of features Kenyan beginners ask for, and the one they most commonly get stuck on. The reason is usually the ISP, not the NVR.
Setting up Hik-Connect: the easiest path for Kenya
Hik-Connect is Hikvision's cloud relay service and is the most practical remote-viewing method for homes and businesses in Kenya. It does not require port forwarding. On the NVR, navigate to Network, then Platform Access, enable Hik-Connect, and set a verification code. Confirm the status shows "online." Download the Hik-Connect app on Android or iOS, create an account, and add your NVR by scanning the QR code on the device label or entering the serial number manually.
Why port forwarding often fails on Kenyan ISPs
Many Safaricom and Zuku home fibre connections use CGNAT, which means multiple households share a single public IP address. Standard port forwarding cannot work in this scenario because there is no unique public IP pointing to your router. Hik-Connect sidesteps this entirely by using a cloud relay, which is why it works even when direct port forwarding fails.
If you specifically need direct access for a professional VMS application, contact your ISP and ask about a static public IP add-on. For the vast majority of beginners doing a home or small business install, Hik-Connect is sufficient and considerably easier to maintain.
Common beginner mistakes and when it makes sense to call a pro
Knowing what can go wrong is as valuable as knowing what to do right.
The mistakes that cost Kenyan beginners the most money
Four errors come up repeatedly in first-time installs:
- Buying an undersized NVR. Purchasing a recorder with exactly the number of channels you currently need leaves no room to add cameras later. Buy at least one step up from your immediate requirement.
- Using CCA cable. Copper-clad aluminium cable fails to deliver PoE reliably, causing cameras to drop offline intermittently, often weeks after installation when the problem is hard to trace.
- Skipping the cable test. Testing after plastering over conduit or tucking cable into ceiling cavities means discovering a faulty termination only after the walls are finished.
- Buying grey-market cameras. Counterfeit or grey-market hardware carries no valid warranty and becomes an expensive problem the moment a fault develops.
Each of these is a real financial cost. Planning the system correctly from the start eliminates all four.
Why a professional install often works out cheaper
A failed DIY job that requires a technician to re-run cabling, re-terminate connectors, or replace counterfeit cameras typically costs more than a professional installation would have in the first place. Experienced installers also identify site-specific problems that a beginner won't anticipate: thick concrete walls that require core drilling, interference sources near the NVR, or router placement that makes Hik-Connect unreliable. The trial-and-error cost of a first-time install is real and often underestimated.
Where to get help in Kenya: Nashnaal Electronics
For Kenyan readers who want a reliable system without the rework risk, Nashnaal Electronics (NE) is a practical starting point. NE supplies Hikvision products and says it sources through official channels, with products carrying local warranty coverage. The team offers professional on-site installation across Nairobi and Kenya, plus after-sales support once the system is live.
For beginners unsure of their camera positions or cable routes, NE offers a free site survey with selected NVR bundle purchases (confirm availability with the team). You can reach Nashnaal Electronics on WhatsApp to request a quote, ask a technical question, or enquire about booking a site survey before you buy a single piece of hardware. Getting the right advice at the start is always cheaper than fixing a problem after the cables are in the wall.
What to do now
Follow this Hikvision CCTV installation guide for beginners to plan, wire, and configure your system step by step: understand your components, plan camera positions and cable routes before you drill, wire and connect correctly, configure the NVR with the right date, time, and storage settings, then set up Hik-Connect for remote access. The deciding factor in whether a beginner gets this right is preparation, not technical skill.
Even with a solid Hikvision setup guide in hand, first-time installs in Kenya carry real risk. A single bad cable termination, a CGNAT connection that blocks remote access, or a grey-market camera with no warranty support can turn a straightforward job into an expensive one. If any part of the process feels uncertain, the professional installation team at Nashnaal Electronics is available to assist. A system installed correctly the first time is a system you can rely on for years.