
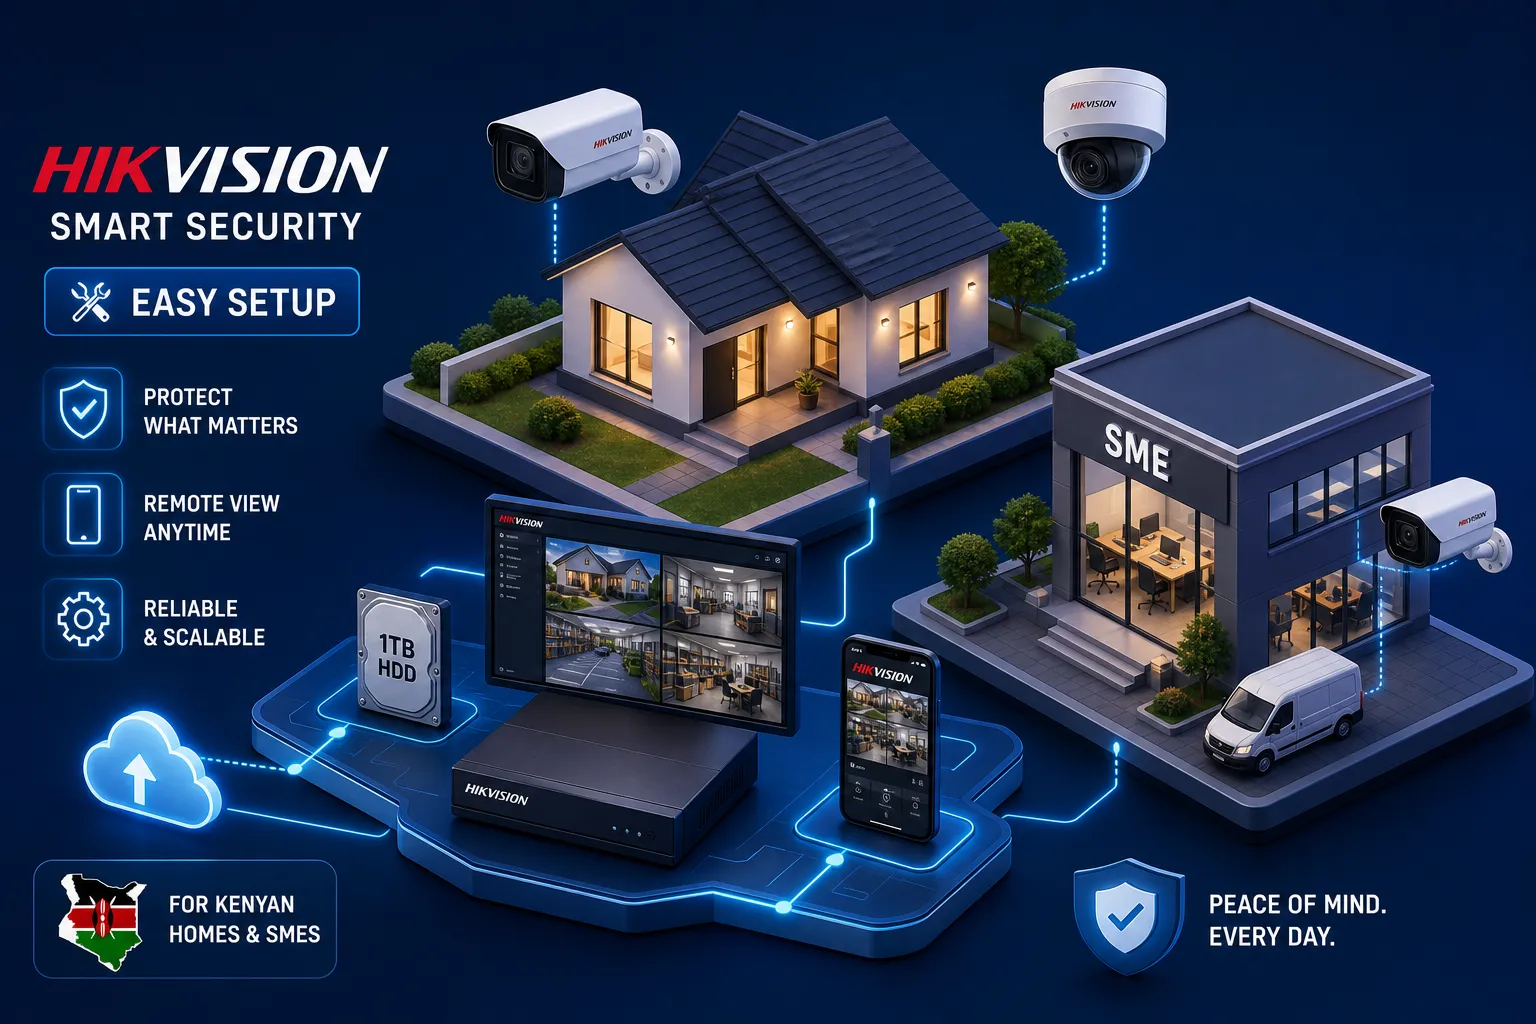
You've just unpacked a Hikvision camera system. The cameras are on the table, a roll of Cat6 is on the floor, and the NVR is sitting in its box waiting. The hardware looks impressive. But the moment you reach for the first cable, you realise the box didn't come with a clear starting point. That moment is more common than most people admit, whether you're a shopkeeper in Westlands completing your first Hikvision camera setup, or a facilities manager at a warehouse in Industrial Area tackling a site upgrade.
The hardware is only half the job. Getting from unboxing to a fully working, remotely accessible, and properly secured system requires a specific sequence. Skip a step or do things out of order and you'll spend hours troubleshooting something that was entirely preventable. This guide walks you through the complete Hikvision camera setup process: planning and mounting, PoE wiring, NVR activation, Hik-Connect configuration for remote viewing, and the security hardening you cannot afford to skip.
Whether you sourced your system from an authorised dealer like Nashnaal Electronics or elsewhere, the activation and configuration steps described here remain the same. What differs is the quality of what's inside that box, and that matters more than most buyers realise when something goes wrong six months down the line.
What to prepare before you touch a single cable
The equipment checklist you need on day one
A complete Hikvision PoE system includes more than just cameras and an NVR. Before you begin the setup, verify you have the following on hand:
- Your IP cameras
- A PoE NVR with built-in PoE ports, or a separate PoE switch
- A pre-formatted or new hard drive
- Sufficient Cat6 cable
- RJ45 connectors, a crimping tool, and a cable tester
- A drill with masonry bits
- Wall anchors appropriate for concrete surfaces
- A laptop with the SADP tool installed
SADP is a free Hikvision desktop utility, available from Hikvision's official site, and you'll need it to activate devices on the local network during the initial Hikvision NVR setup phase.
For new cable runs in Kenya, Cat6 is the recommended standard over Cat5e. The reason is straightforward: Kenya's electrical environment, with its voltage fluctuations and heavy equipment on shared circuits, benefits from the better shielding and significantly reduced crosstalk that Cat6 offers. Each genuine Hikvision camera also ships with a quick-start guide and a QR code printed on the camera body. Keep that QR code accessible throughout the setup process, as it's required during Hik-Connect registration.
Planning your camera positions before drilling
Walk the site before you pick up the drill. Identify every entry point, any existing blind spots, and the lighting conditions at each location across the day and at night. These three factors determine which camera type belongs where, whether you need a standard bullet camera, a dome, or a full-colour ColorVu unit for areas with poor ambient light.
The recommended mounting height for human detection is between 2.5 metres and 6 metres, with a downward tilt of 25° to 60°. Mount too high and the camera captures the tops of heads rather than faces. Mount too low and it becomes easy to tamper with. Use this planning stage to trace cable routes as well, through walls, across ceilings, or inside conduit. Identifying those routes now prevents significant rework after cameras are already bolted in place.
Hikvision camera setup: mounting and PoE wiring
Securing the bracket and adjusting the camera angle
Fix the mounting bracket to the surface using the supplied screws and appropriate wall anchors. For the concrete walls common in Kenyan construction, masonry anchors are the correct choice; standard plastic plugs will work loose over time from the weight of the camera and bracket. Once the bracket is secure, attach the camera body and adjust the pan, tilt, and rotation settings before tightening the locking ring.
Check the live image on a monitor or laptop before you fully tighten everything down. Checking the image before tightening saves an enormous amount of time. Adjusting a camera angle by five degrees when the bracket is hand-tight takes ten seconds. Adjusting it after the locking ring is fully torqued down takes considerably longer, especially at height.
PoE cable runs: distance limits and weatherproofing
The distance rule for PoE is non-negotiable: every cable run from camera to NVR or PoE switch must stay under 100 metres. Beyond that limit, PoE cannot deliver reliable power or data over the same cable. You will then see cameras dropping offline intermittently or refusing to power on at all. Measure actual cable paths, not straight-line distances, and account for wall penetrations, ceiling runs, and any routing around obstacles.
For outdoor wall penetrations, drill the hole with a slight downward slope toward the outside. This ensures water drains away from the interior rather than tracking along the cable into the wall. After pulling the cable through, seal the penetration with silicone. For any RJ45 connections outdoors, use a weatherproof junction box or gel-filled coupler. Nairobi's rain and humidity will degrade an unprotected connector joint quickly, and a corroded connection is one of the most frustrating faults to diagnose after the fact. With PoE correctly wired, the camera needs no separate power supply: one Cat6 run delivers both power and data.
Activating your cameras and configuring the NVR
Creating your admin password using SADP
Open SADP on a laptop connected to the same network as your NVR and cameras. The tool will scan and list every Hikvision device it can find. Any device that has never been set up will appear with the status "Inactive." Select the inactive device, enter a strong password in the new password field (minimum eight characters, combining uppercase and lowercase letters, numbers, and symbols), confirm it, and click Activate.
Hikvision's design requires activation before a device will function at all, skipping this step is not an option. The camera's default IP address is 192.168.1.64; if your network uses a different subnet, such as 192.168.0.x, use SADP to update the camera's IP address, subnet mask, and gateway to match your network at the same time you activate it.
Adding cameras to the NVR, formatting the HDD, and setting the schedule
Cameras plugged directly into the NVR's built-in PoE ports are usually detected automatically through plug-and-play and will appear in the camera management screen without manual configuration. Third-party ONVIF camera setup is slightly different: you'll need to enter the IP address, username, and password manually, then select ONVIF as the protocol in the adding method menu.
Once cameras are visible, navigate to storage or HDD management and initialise the hard drive. A new drive that has not been initialised will not record, and the NVR may give no obvious error to explain why. After that, set the correct time zone and date immediately. Nairobi operates at UTC+3, and every recording, playback timestamp, and event log on the system is tied to the NVR clock. Getting this wrong early creates weeks of confusing footage. Most Hikvision NVRs default to continuous recording once a camera is active and the HDD is initialised. If continuous recording will fill the drive within a day or two, switch to motion-triggered or scheduled recording in the recording configuration menu.
Hikvision camera setup, Hik-Connect activation for mobile viewing
Enabling Platform Access on the NVR
Hik-Connect is Hikvision's cloud-relay, also called P2P, service that allows remote viewing without port forwarding. It works over any internet connection, including Safaricom and Airtel mobile data, and it's free to use. To enable it, log into the NVR's web interface or local menu, navigate to Configuration, then Network, then Advanced Settings, then Platform Access. Select Hik-Connect, tick Enable, and note the verification code displayed on the screen. This code is separate from your admin password and is required in the next step.
If the status shows "Offline" after enabling, check two things first: ensure the NVR has an active internet connection, and verify that DNS is configured correctly in the NVR's network settings. A common issue on Kenyan home routers is that DNS is left at the ISP default and stops resolving correctly after a router restart. Setting the NVR's preferred DNS to 8.8.8.8 and secondary DNS to 8.8.4.4 resolves this in most cases.
Adding the device in the Hik-Connect app
Download the Hik-Connect app on your Android or iOS device, create an account, and tap the "+" icon to add a new device. The fastest method is to scan the QR code on the NVR body or camera. Alternatively, enter the serial number manually. When the app asks for a verification code, enter the code you noted from the Platform Access menu, not your admin password.
Once the device appears as Online in the app, open Live View and check that the cameras are visible. Then disconnect your phone from Wi-Fi and test again on mobile data. This second test confirms that remote access is genuinely working from outside the home network, not just within the local router. If Live View loads on mobile data, the Hik-Connect activation is complete and working.
Security settings to change before going live
Locking down passwords and enabling HTTPS
The admin password created during activation is the foundation, but it isn't sufficient on its own. By default, many Hikvision devices accept connections over HTTP, which transmits credentials in plain text. To fix this, navigate to Configuration, then Network, then Advanced Configuration, then HTTPS. Create a self-signed certificate, enable HTTPS, and save. From this point forward, access the device using https:// in your browser rather than http://.
Also review the list of active services on the device and disable any that aren't in use, such as Telnet or unused SDK ports. Hikvision's own guidance is to minimise the number of ports exposed to the internet. Each open service is a potential entry point, and a Hikvision camera on a public IP with unnecessary ports open will attract automated scanning within hours of being connected.
Port forwarding and the CGNAT issue with Kenyan ISPs
Many residential internet lines in Kenya, including certain Safaricom fibre packages, operate behind CGNAT. This means you don't hold a real public IP address; you share one with many other subscribers. The practical result is that traditional port forwarding from your router won't work from the internet, even if you configure the rules correctly.
To check whether your line is behind CGNAT, log into your home router and note the WAN IP address shown there. Then open a site like whatismyip.com on a browser on the same network and note the IP shown. If the two addresses are different, your line is behind CGNAT. For users in this situation, Hik-Connect's P2P relay is the most practical remote-access solution, which is precisely why enabling Platform Access properly matters so much. Avoid forwarding RTSP port 554 to the internet unless you have a specific VMS requirement; it increases your exposure without meaningful benefit for typical home or SME setups.
Common setup problems and how to fix them
Diagnosing the most frequent Hikvision configuration issues
Most problems encountered during a Hikvision camera setup fall into a small number of repeating patterns. Here are the ones you're most likely to encounter, and what to do about each:
- Camera shows as Inactive in SADP: The camera hasn't been activated yet. Follow the activation steps in the section above before attempting to add it to the NVR.
- Live view shows a black screen or "No Video Signal": Check the PoE indicator LED on the NVR port to verify power is being supplied, check cable termination at both ends, and ensure the camera's IP address is on the same subnet as the NVR.
- Hik-Connect showing device as Offline: Check that the NVR has a working internet connection, set DNS to 8.8.8.8 in the NVR's network settings, and confirm the verification code was entered correctly in the app.
- HDD not detected: The drive needs to be initialised from within the NVR's storage or HDD management menu. Installation alone is not enough; the NVR must format the drive before it will use it.
Getting help from Nashnaal Electronics when you're stuck
Even with a thorough guide, certain configurations can catch experienced installers off guard. Network-level settings, ONVIF integration with third-party cameras, multi-site setups, and CGNAT workarounds all have enough variables that remote troubleshooting becomes necessary. That's a normal part of working with any professional-grade surveillance system.
For customers in Nairobi, Nashnaal Electronics' after-sales support team handles both remote configuration assistance via WhatsApp and on-site visits for more complex issues. The NE team works specifically with Hikvision systems and can diagnose configuration problems quickly because they know the product line in detail, from the NVR firmware menus to the Hik-Connect backend. Reach NE directly via WhatsApp, describe the issue, and get a practical response without waiting for a formal service appointment.
Your Hikvision camera setup is live, here's what to do next
A well-executed Hikvision camera setup follows a clear path: plan the site thoroughly, mount and wire correctly, activate and configure the NVR, then complete the Hik-Connect activation for remote viewing. The most common mistakes, skipping activation, ignoring the time zone setting, leaving HTTP enabled, or never testing mobile data access, are all avoidable when you work through the steps in the right order.
Once live view is confirmed in the Hik-Connect app and recording is verified through playback, the system runs largely on its own. There's no subscription, no cloud storage fee for basic use, and no recurring access cost. For anything beyond a standard Hikvision camera setup, or for readers who want a clean, professional installation without the trial and error, Nashnaal Electronics' team is a call or WhatsApp message away.