
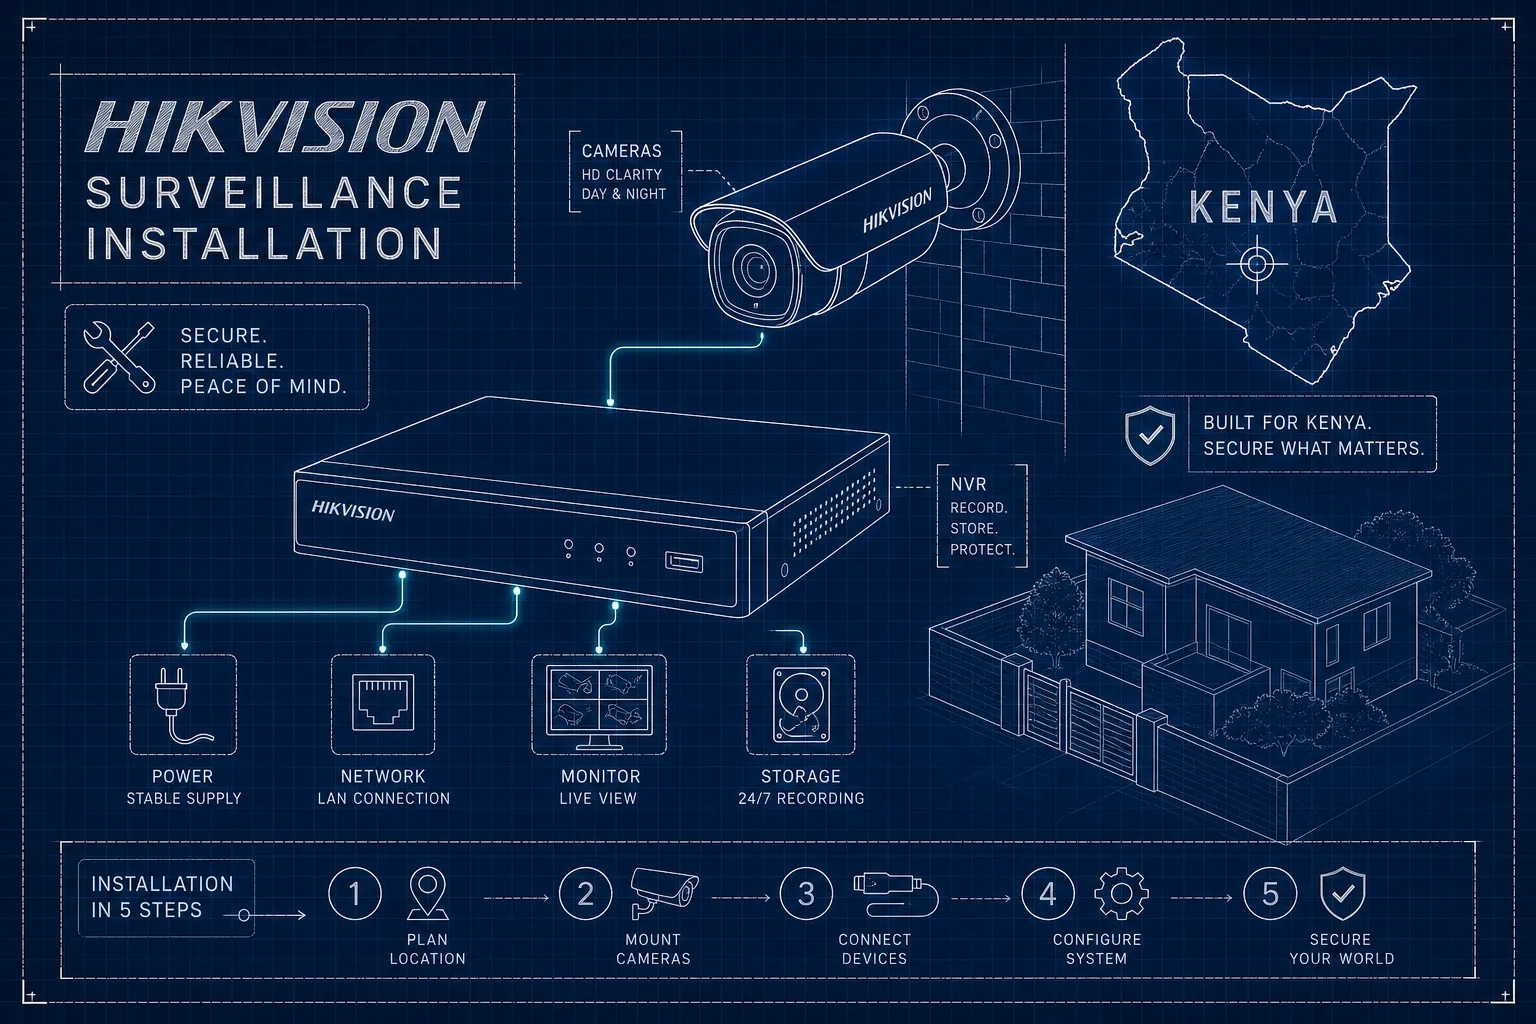
The Hikvision kit arrives, the box is open, the cameras are on the table, and the drill is sitting next to the NVR. Then everything stops. Most people who attempt a security system setup without guidance stall at exactly this point, not because the equipment is difficult, but because nobody has walked them through the full sequence. This Hikvision installation guide does exactly that: from the first item on your shopping list through to watching a live feed on your phone from across Nairobi.
At Nashnaal Electronics (NE), a Hikvision distributor based in Nairobi, the installation team works through these setups week after week: retail shops along Mombasa Road, apartments in Kilimani, warehouses in Industrial Area, and everything in between. The patterns of what goes wrong, and what goes right, are consistent. That hands-on experience is the foundation of every section below.
This Hikvision camera installation guide covers six stages: pre-installation preparation, camera placement and cable routing, physical connections and mounting, IP address configuration, recording schedule setup, and Hik-Connect remote access. Work through them in order and the system will be running cleanly by the end.
What to prepare before you drill a single hole
A rushed start costs time later. Wrong camera positions, cables that are too short, or a missing HDD means stopping mid-installation and making another trip to the supplier. Getting this stage right takes thirty minutes and saves several hours.
The core hardware you need: a PoE NVR matched to your camera count (4, 8, or 16-channel depending on scope), compatible Hikvision PoE IP cameras, a surveillance-grade HDD of at least 2TB (4TB is the practical recommendation for most small business setups), and a monitor or TV with HDMI or VGA input for the initial configuration session. Using Hikvision cameras with a Hikvision PoE NVR simplifies plug-and-play setup; third-party cameras may require manual adding.
On the tools and consumables side, you need a drill fitted with masonry bits, a set of screwdrivers including the Allen key that ships with most Hikvision cameras, a ladder, cable clips, and cable ties; for consumables, you will need pre-terminated CAT6 Ethernet cables (factory-crimped saves time and reduces errors), self-amalgamating tape, silicone sealant, and junction boxes for any outdoor cable entry points. Use solid-copper CAT6 for outdoor runs rather than CAT5e: CAT6 reduces interference over longer runs and is more resistant to the kind of corrosion that occurs on coastal or high-humidity sites. For particularly humid locations, add dielectric grease and ensure proper sealing at every junction.
Source everything from an authorised distributor. NE stocks genuine Hikvision accessories alongside cameras, this matters more than it sounds. Grey-market consumables, particularly counterfeit cable and cheap junction boxes, can cause failures that get blamed on the camera when the real culprit is the installation materials.
Hikvision installation guide: planning camera positions and routing the cabling
This is the thinking phase. Spend time here and the physical installation becomes straightforward. Skip it and you will find yourself unmounting a camera and remounting it three metres to the left after realising it misses the entry point entirely.
Effective camera placement follows a simple principle: cover every entry and exit point first, then fill in secondary areas. As a general guideline, mounting cameras at roughly 2.5 to 3 metres high balances facial detail with tamper resistance, though the ideal height will vary by site. Avoid pointing lenses directly at light sources or into the direction of the morning or evening sun; this produces backlit footage that shows a silhouette rather than a face. For outdoor bullet cameras, the eaves or wall edges at corner positions give the widest, most natural field of view.
Cable routing deserves as much thought as camera placement. Run cables inside walls or through conduit wherever possible. For outdoor surface runs, use cable trunking fixed along the wall rather than loose cable. Exposed external cable is vulnerable to UV, water ingress, and corrosion; use trunking, conduit, or junction boxes to prevent premature failure. Keep each cable run under 100 metres: this is the maximum for reliable PoE transmission over a single CAT6 segment. If a camera position requires a longer run, either move the NVR location or add a PoE repeater at the 100-metre mark to extend the run by another 100 metres.
Before cutting a single length of cable, run a rough measure from the NVR location to each camera position, add 10 to 15 percent for routing around corners and through walls, and label both ends of each cable before it goes into the wall. This saves considerable troubleshooting time when the NVR is powered on and a channel shows no signal.
Making the physical connections: PoE wiring and camera mounting
With cabling run and positions confirmed, this is where the system takes physical shape. Plug the RJ45 end of each camera cable into the corresponding PoE port on the NVR, then connect the other end to the camera's pigtail connector. A PoE NVR delivers both power and data over the same cable, so no separate power adapter is needed at the camera end. Most Hikvision NVRs label each PoE port with a channel number, keeping the layout logical from the start.
Weatherproofing outdoor RJ45 connections is the step most commonly skipped and the one that causes the most problems. Wrap each outdoor RJ45 joint with self-amalgamating tape, stretching it as you wrap so it fuses into a solid, watertight layer. Apply silicone sealant to every point where the cable enters a wall or junction box. Use the waterproof coupler that ships with Hikvision cameras; it is there for a reason. Water ingress at an unprotected connector does not always fail immediately, it can show up weeks later as an intermittent offline camera, and by then the cause is difficult to trace without disconnecting and re-inspecting every joint on that run.
When mounting the camera itself, use the paper drill template included in the box to mark fixing holes accurately before drilling. For masonry walls, the majority of construction in Nairobi, masonry drill bits are essential. Tighten the locking collar firmly on dome cameras and avoid over-tightening screws on plastic housings. Remove the protective film from every lens before final mounting. Forgetting this is a common cause of blurry or washed-out footage, particularly on first-time installations.
Assigning IP addresses and adding cameras to the NVR
Using SADP to discover and configure cameras
This is where most DIY installations stall completely. Cameras are powered and mounted, but the NVR screen shows nothing. The cause is almost always an IP address mismatch between the camera's factory default and the NVR's internal network range.
Hikvision cameras leave the factory with a default IP of 192.168.1.64. If this does not match the subnet the NVR is operating on, the camera will not communicate. The SADP tool, available free from Hikvision's official support site, resolves this quickly. Connect a laptop to the same network, run SADP, and it will discover all Hikvision devices on the network within seconds. Select the camera, disable DHCP if you want a static address, run ipconfig on the laptop to confirm the network gateway, then assign the camera a unique static IP within the same subnet. Enter the admin password and click Modify to save the changes.
Manual IP assignment and adding cameras to the NVR
Once the IP is set, add the camera to the NVR manually by following these steps:
- Log into the NVR's local menu.
- Navigate to Camera Management and select the relevant channel.
- Change the adding method from Plug and Play to Manual.
- Enter the camera's new IP address, port 8000, the username (admin), and the password.
- Confirm a green Online status to verify the connection.
If the NVR uses built-in PoE and the camera IP has not been changed from the factory default, Plug and Play handles all of this automatically.
Initialising the HDD
Initialising the HDD is mandatory and cannot be skipped. Follow these steps to complete it:
- Navigate to Storage, then HDD Management.
- Select the drive and click Init.
- Confirm the warning that all existing data will be erased, then click OK.
- Wait for the process to complete; the status will change to Normal when done.
Without this step, recording never starts, even if all cameras show as Online. Confirm live view is active on all channels before moving forward.
Hikvision NVR setup: recording schedules and remote access
A live feed without active recording and remote viewing is half a system. For most residential and small business setups in Kenya, continuous recording on all channels is the simplest and most reliable approach. Where storage duration matters more, motion detection recording can substantially reduce storage needs, extending retention compared with continuous recording. The most practical balance for a retail shop or small office is continuous recording during off-hours and motion detection during business hours.
To set this up, navigate to Main Menu → Record → Schedule. Draw the recording blocks across the weekly grid for each channel, selecting Continuous or Motion as appropriate for each time period. Use the Copy function to apply the same schedule across all channels at once. Once saved, perform an immediate playback test by pulling up footage from five minutes ago. If it plays back cleanly, recordings are writing to the HDD correctly.
For Hik-Connect remote access, follow these steps to activate the platform:
- Navigate to Configuration → Network → Advanced Settings → Platform Access.
- Set the mode to Hik-Connect and enable it.
- Create a verification code of six to eight alphanumeric characters.
- Wait for the status to change to Online (this usually takes a few seconds).
- Download the Hik-Connect app on iOS or Android and register an account.
- Add the device by scanning the QR code from the Platform Access screen, or enter the nine-digit serial number manually.
- When prompted, enter the verification code.
Test the live view over mobile data, not Wi-Fi, to confirm remote access is working from outside the local network. If it works over 4G, the connection is genuinely remote.
Mistakes that catch installers out, and when to call a professional
Exceeding the 100-metre cable limit produces frozen or intermittent video that looks like a hardware fault but is purely a distance issue. Running cables parallel to power lines causes interference that shows up as noise or signal dropouts.
Mounting cameras where IR beams reflect off a nearby wall or ceiling is a separate problem worth addressing on its own: the camera is functioning correctly, but the IR is illuminating the surface directly in front of it rather than the scene you are trying to cover. The fix is repositioning the camera, not replacing it. All three issues share the same pattern: the symptom points to the equipment, but the solution is in the installation.
The two most consistent recording failures are an uninitialised HDD and a misconfigured or empty recording schedule. Both result in cameras showing Online with no playback available. Testing playback immediately after setup catches both issues before the client accepts the installation. If playback is empty, check the HDD status first, then the schedule second.
For multi-site systems, warehouses with sixteen or more cameras, integrated access control, or any setup involving complex network configurations, a professional installation is the right call. Incorrect configuration on a large system is difficult to unpick, and on complex deployments, working with an authorised installer from the outset is far more cost-effective than remediation later. Engaging NE means the system is configured correctly from day one, with a local Nairobi-based support team available if anything changes. Contact NE directly via WhatsApp to get a quote or to book a site survey, the starting point for any installation that goes beyond a basic home or small-office scope.
A note on legal compliance
Any surveillance system that records individuals in Kenya falls under the Data Protection Act 2019 (DPA 2019), administered by the Office of the Data Protection Commissioner (ODPC). Key obligations include registering as a data controller where required, displaying clear signage to notify individuals that recording is in progress, and conducting a Data Protection Impact Assessment (DPIA) for higher-risk installations. Data subjects have rights of access and erasure, and any breach must be reported to the ODPC. Before commissioning a system, confirm your compliance obligations with a qualified data protection adviser or consult the ODPC directly at odpc.go.ke.
Putting it all together
The full sequence of this Hikvision installation guide is consistent regardless of the scale of the installation: preparation and equipment check, camera placement planning, cable routing and physical connections, IP configuration using the SADP tool, recording schedule setup, and Hik-Connect activation. Each stage builds directly on the one before it, and skipping any step is what creates the problems that surface weeks after the cameras go live.
A well-installed Hikvision system is reliable, remotely accessible, and low-maintenance once it is running correctly. The outcome depends almost entirely on how carefully the installation is executed, and following this Hikvision installation guide gives you the clearest possible path to getting it right first time.
If you are scaling beyond a basic setup, or you want the system installed with professional accountability and genuine product support, contact Nashnaal Electronics (NE) via WhatsApp for a quote or to arrange a site survey. Getting the foundation right from the start costs far less than rectifying a problematic installation six months down the line.