
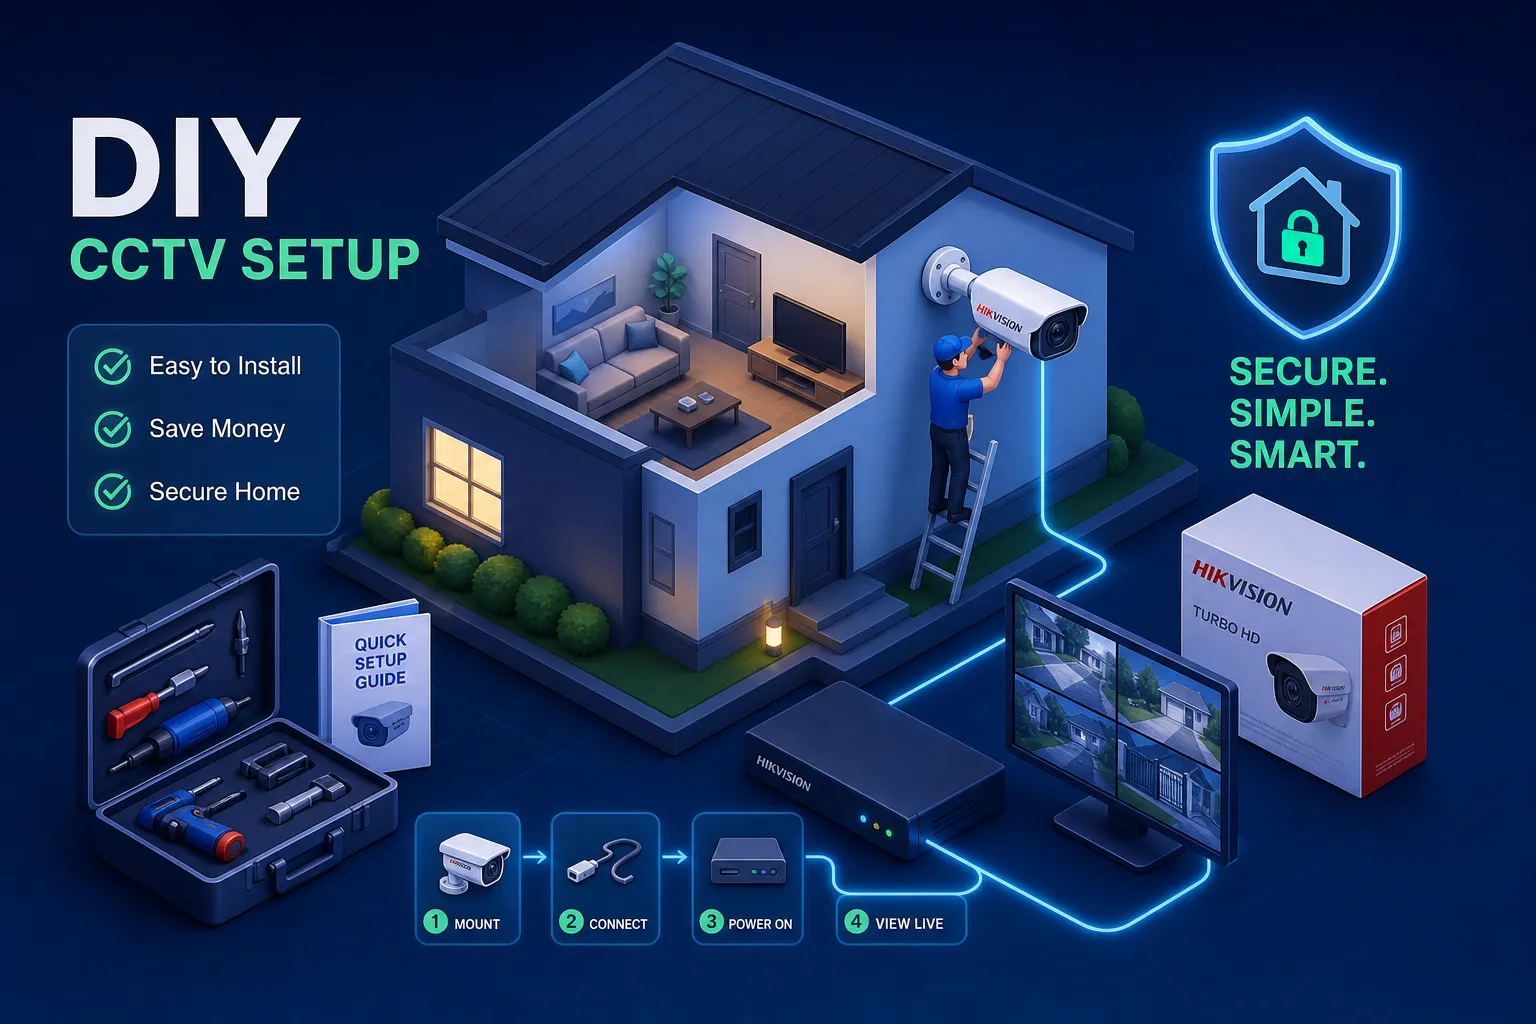
At Nashnaal Electronics, this is one of the most common questions we receive: a homeowner watches a ten-minute YouTube video, sees someone plug in a few cameras and click through a wizard, and wonders whether the whole job is really that straightforward. Sometimes it is. Often, it isn't. The gap between powering up a PoE camera kit and having a correctly configured, reliable system is wider than the box makes it look, and knowing where that gap sits is what separates a successful DIY install from an expensive reset.
This guide gives you an honest answer to the question of how to set up a Hikvision CCTV system at home by yourself. We walk through what the system actually consists of, where the real difficulty lies, and which parts you can confidently handle yourself. By the end, you will know exactly what preparation is required, what tools you need, and at what point the smartest move is calling a professional rather than risking your equipment and your weekend.
What a Hikvision home CCTV system actually consists of
Many homeowners start comparing prices before they understand what they are buying. A modern Hikvision IP system has three non-negotiable components: PoE IP cameras, an NVR, and a surveillance-grade HDD. The cameras capture footage, the NVR manages and records the video streams, and the HDD stores everything. Each decision you make about one component affects the others, so clarity here saves costly mistakes later.
PoE cameras receive both data and power over a single Cat5e or Cat6 Ethernet cable connected to a PoE-capable NVR or switch. This is a genuine advantage over older analogue systems, which required separate power runs. The NVR's built-in PoE ports make the wiring considerably simpler, especially in a typical Nairobi home with multiple entry points, a perimeter gate, and a parking area to cover.
The HDD must be surveillance-rated, not a standard laptop or desktop drive. Surveillance drives such as WD Purple or Seagate SkyHawk are engineered for continuous 24/7 write cycles. A regular drive will fail within months under that load. The table below gives a practical starting point for storage sizing:
NVR vs DVR: why this distinction matters for your home
If you are buying a modern Hikvision IP camera kit, you need an NVR, not a DVR. DVRs work with older analogue cameras over coaxial cable and process the video signal at the recorder. NVRs receive pre-encoded video streams over the network from IP cameras. Mixing the two does not work: IP cameras cannot connect to a DVR, and analogue cameras cannot connect to an NVR. If a seller is offering you a DVR with IP cameras, walk away.
Sizing your system before you buy anything
For a typical Nairobi home, the standard coverage zones include the front gate, the main entrance door, a rear entry, the perimeter wall, and the parking area. That is four to five cameras as a minimum. Always buy a recorder with two to four extra channels beyond your current camera count. Expanding a system after the fact is expensive; buying the headroom upfront costs very little.
How do I set up a Hikvision CCTV system at home by myself? Start with the cabling
Cabling errors are the single biggest cause of DIY CCTV failures in Kenya, and sorting this out first is central to answering the question of how to set up Hikvision CCTV at home by yourself. The Nairobi market is flooded with CCA cable, copper-clad aluminium. It looks identical to solid copper cable on the outside and is significantly cheaper, which is why it is everywhere. CCA causes voltage drop, power failures, and intermittent camera faults that are genuinely difficult to diagnose weeks after installation. Use solid copper Cat5e or Cat6 only.
Cat5e solid copper handles most indoor runs without issue. For longer outdoor runs or higher-power cameras such as ColorVu models, Cat6 solid copper is worth the extra cost. Any cable running outside the building must be outdoor-rated and UV-resistant. Standard indoor cable degrades quickly when exposed to direct sun and rain, which is unavoidable on most Kenyan perimeter walls.
The 100-metre limit on standard Ethernet is a hard boundary. Measure your actual cable runs, not straight-line distances. Cable routed through walls, around door frames, and along ceiling boards always runs longer than you expect. Keep every run within 100 metres from the NVR's PoE port to the camera.
How to calculate your PoE budget without a spreadsheet
Every PoE NVR has a total wattage budget across all its ports. The table below covers typical Hikvision NVR kits available in the Kenyan market:
The formula is straightforward: add up the wattage of all your cameras, then add 20% headroom. Six cameras at 8 W each equals 48 W; with 20% headroom, you need at least 58 W of usable PoE budget from your NVR or switch.
Exceeding the PoE budget causes cameras to power-cycle or fail to come online at all. This is a very common DIY fault because people count channels rather than watts. Check the wattage of every camera model you are buying and run the calculation before you purchase anything.
Mounting cameras safely at height
For a non-technical homeowner, the physical installation is often the hardest part. Drilling into concrete walls, working from a ladder on a high perimeter wall, and running cable through conduit requires both the right tools and genuine attention to safety. Kenya's building stock means you will almost always be drilling into brick or concrete, and many perimeter walls sit at heights where a fall causes serious injury. Taking the right precautions before you start makes the difference between a completed job and a hospital visit.
Tools to have on the day before you start drilling
You will need a power drill with masonry bits, a bubble level, fish tape or cable rods, a cable stripper, a crimping tool, raw plugs and screws rated for masonry, and a network cable tester. A portable video test monitor is worth hiring or borrowing: it lets you verify the camera feed before you seal the cable run, saving you from descending a ladder and repeating the climb. Keep everything in a tool pouch when working at height so both hands are free when needed.
Safe mounting sequence for high walls and rooftops
Follow this order: mark the bracket position, drill, insert raw plugs, secure the bracket, thread the cable through, connect the cable, then test the live feed before you lock the camera angle permanently. Wear safety goggles, gloves, and a helmet when drilling overhead. Use a stable ladder on level ground and never rush the drilling step on an unstable surface.
Mount cameras at 2.5 to 3 metres above ground level. That height captures face-level detail at entry points while keeping cameras out of easy reach. For all outdoor cable runs, use conduit or wire moulding. It protects the cable from weather and makes tampering considerably more difficult.
Setting up the NVR: from a blank hard drive to a recording system
This is where DIY installs most commonly stall. The NVR setup sequence looks straightforward but carries several steps where a wrong choice creates problems that only appear days or weeks later. Work through each stage in order and treat every stage as mandatory, including those the wizard marks as optional.
Initialising the HDD, setting time and date, and configuring the network
A brand-new HDD must be initialised through the NVR's storage menu before the recorder will write a single second of footage to it. The NVR will often emit a continuous beep until this is done. Navigate to the HDD management menu, select the drive, and click "Init". This formats the drive correctly for surveillance use.
Set the time zone to East Africa Time (UTC+3) immediately after. Incorrect timestamps make footage useless in any dispute or insurance claim. For the network, DHCP works fine for most homes, but assigning a static IP or a DHCP reservation on your router keeps the NVR reachable at the same address consistently. Set the DNS to 8.8.8.8 as your primary server; this matters for Hik-Connect cloud connectivity.
Adding cameras and setting the recording schedule
Open the NVR's online device list and it will find Hikvision cameras on the same network automatically. For third-party or ONVIF cameras, switch the protocol option from "Private" to "ONVIF" and enter the camera's IP address and credentials manually. Verify that each channel shows a live feed before moving on.
For the recording schedule, continuous recording uses more HDD space but guarantees no gaps in coverage. Motion-triggered recording extends storage life but can miss footage if the sensitivity is set too low. The practical recommendation: set gate and entrance cameras to continuous recording, and use motion recording for interior or lower-priority zones where gaps are acceptable.
Getting Hik-Connect remote access to work: a step-by-step guide
Remote viewing from your phone is one of the primary reasons homeowners invest in CCTV. Standard Hik-Connect access is simpler than most guides suggest. The common confusion comes from mixing up two different remote access models.
DIY Hikvision setup: configuring the Hik-Connect app
Standard Hik-Connect uses Hikvision's cloud relay, which means the NVR connects outbound to Hikvision's servers, no port forwarding on your router is required. Follow these steps in sequence:
- On the NVR, go to Configuration → Network → Platform Access and enable Hik-Connect.
- Create a device verification code when prompted.
- Open the Hik-Connect app on your phone.
- Add the device using the QR code or the NVR's serial number.
- Enter the verification code you created in step 2.
- Confirm that the NVR has a valid gateway and DNS (8.8.8.8) set correctly, without these, the cloud connection will fail silently.
Once complete, you should see a live feed from each camera directly in the app.
When port forwarding applies and the CGNAT problem for Kenyan ISPs
Port forwarding is only relevant if you are setting up DDNS or manual remote access, not for standard Hik-Connect. However, even when it is relevant, many Kenyan residential ISPs place home routers behind carrier-grade NAT (CGNAT). Under CGNAT, your router receives a shared or private IP address rather than a unique public one. Port forwarding rules configured on your router are invisible from the internet regardless of how correctly they are set up.
If port forwarding is not working, check your router's WAN IP against a public IP lookup service. If they differ, you are behind CGNAT. The solution is either to request a dedicated public IP from your ISP or to use the standard Hik-Connect cloud method, which works reliably regardless of CGNAT.
What you can realistically handle yourself, and when to call a professional
An experienced DIYer with basic electrical and IT knowledge can successfully handle a significant portion of a Hikvision home installation. Planning camera positions, selecting the correct components, following the NVR setup wizard, and configuring Hik-Connect on a phone are all tasks that require no specialist tools or trade skills. Those steps are covered in detail above.
The tasks that carry real risk are a different matter. Rooftop cable runs on corrugated iron, drilling through structural walls, correctly sizing a PoE system across six or more cameras, and diagnosing intermittent network faults require both experience and the right test equipment. A poorly crimped cable, an undersized PoE budget, or a skipped HDD initialisation causes failures that appear weeks after installation, when the problem is hard to trace and harder to fix.
It is also worth understanding the warranty position clearly. Hikvision's policy does not automatically void the warranty for DIY installation, but it does exclude damage resulting from improper installation. If a cable fault damages a camera port on the NVR, that repair is unlikely to be covered.
Nairobi residents who want a correctly installed, warranty-backed system without the guesswork can reach the team at Nashnaal Electronics (NE) via WhatsApp for a consultation or to arrange a site visit. NE sources genuine Hikvision products through official channels, handles the full installation, and remains reachable for after-sales support once the job is done.
Frequently asked questions
How do I set up a Hikvision CCTV system at home by myself if I have no technical background?
Start with a genuine Hikvision PoE NVR kit from a reputable supplier such as Nashnaal Electronics. Connect the cameras to the NVR using solid copper Cat5e or Cat6 cable, initialise the HDD through the storage menu, set the time zone to UTC+3, and follow the Hik-Connect steps listed above. If you hit any stage that requires rooftop work or structural drilling, consider bringing in a professional for that portion only.
Can I install Hikvision CCTV myself without an electrician?
Yes, for a standard PoE NVR kit. The cameras draw power over the Ethernet cable from the NVR, so no separate electrical wiring is required. The NVR itself connects to a standard mains socket. If you need cameras in locations that require new mains sockets or conduit work inside walls, an electrician is advisable for those specific tasks.
What is the most common reason a DIY Hikvision install fails?
CCA (copper-clad aluminium) cable is the leading cause of failure in the Kenyan market. The second most common fault is exceeding the NVR's PoE wattage budget. Both problems are avoidable: buy solid copper cable only and run the PoE budget calculation before purchasing your cameras.
Does DIY installation void the Hikvision warranty?
Not automatically. Hikvision's warranty excludes damage caused by improper installation, but self-installation alone is not grounds for rejection. If you follow the correct setup procedure and use genuine products, the warranty remains valid.
The honest summary
Setting up a Hikvision CCTV system at home by yourself is achievable for the right person with the right preparation. The sequence is consistent: plan your camera positions, buy the correct components and solid copper cable, mount safely at 2.5 to 3 metres, initialise the HDD, configure the NVR correctly, and set up Hik-Connect using the cloud method. Follow each step in order and the system works reliably.
The areas that most often go wrong are cable quality, PoE budget calculation, and network configuration. If any of those feel uncertain, the cost of getting a professional involved is far lower than the cost of a failed installation, damaged equipment, or a warranty claim that does not hold.
If you are in Nairobi and want the system installed correctly the first time, Nashnaal Electronics (NE) offers professional installation at competitive rates with genuine Hikvision products and full warranty coverage. Reach out on WhatsApp to get started or to ask any questions before you buy.